Built-in (fully wireless) VS removable memory chips

Removable memory chips (EEPROM) were very popular in the past, as they allowed users to manipulate different features and configurations, applying them to remote control devices. It was a good feature, as the card was the Transmitter’s “brain” and any particular configuration of the device was stored therein. Nevertheless, using an external chip can easily lead to problems as when damaged or lost, it is no longer possible to reconfigure a unit and put it easily back into operation. An additional challenge with this chip as separate item, is the possibility of prolonged lead times.

Tele Radio devices do not use removable chips, instead built-in smart functions as part of the software, in both transmitter and receiver, making the replacement procedure much more intuitive and direct, executable by the end user on-site. It is not necessary to use a PC/laptop, or any other hardware, nor will there be any need to contact your dealer for assistance.
The steps to replace a damaged or lost transmitter are simpler and faster with the built-in techonology, solely done by pressing a combination of buttons, that will allow the transmitter to be registered safely and wirelessly into the receiver.
It can be done in 2 different ways:
- REPLACE MODE (requires the ID code of the Transmitter that is to be replaced)
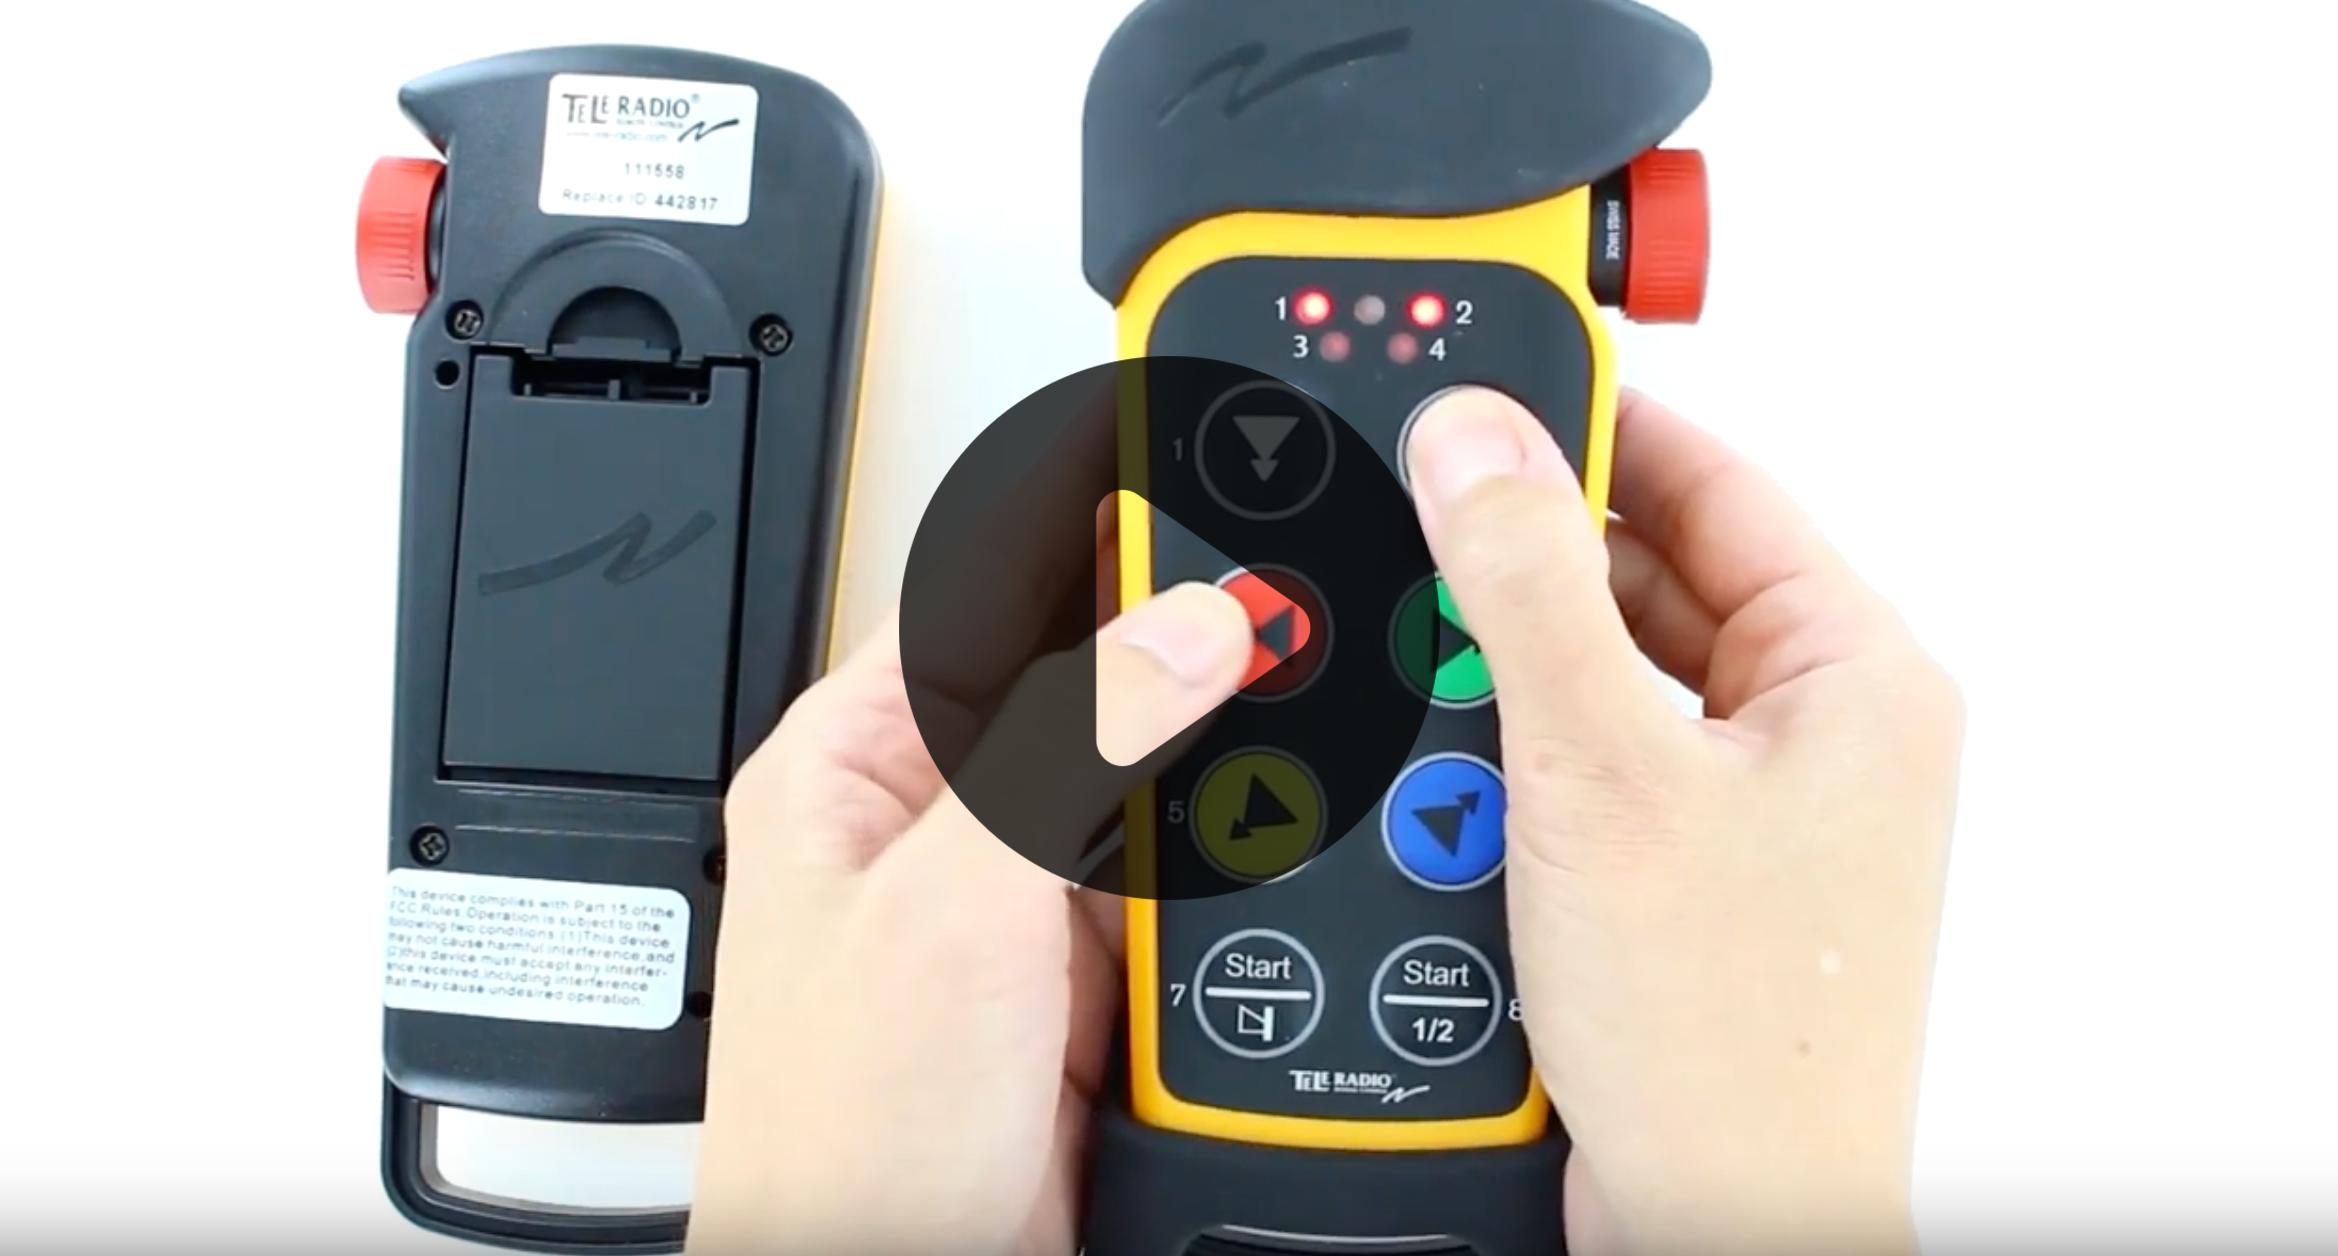
Each transmitter has a unique and dedicated Replace ID code, located underneath the protective Rubber Guard, above the battery compartment. To replace a defective Transmitter in about 15 seconds, simply enter the menu mode, accessible directly from the new Transmitter and use the push buttons to enter the ID Code of the Transmitter that is to be replaced. The new Transmitter will pair itself to the Receiver, automatically erasing the unit that was replaced.
This is the faster procedure and the code of the -to be replaced- transmitter must be pressed within a sequence in a built-in menu, these steps delete the first device´s ID and registers the new transmitter´s ID instead. From that moment, it will only be stored the new ID code and just allow to work that new transmitter.
Click to play the video.
- REGISTRATION MODE
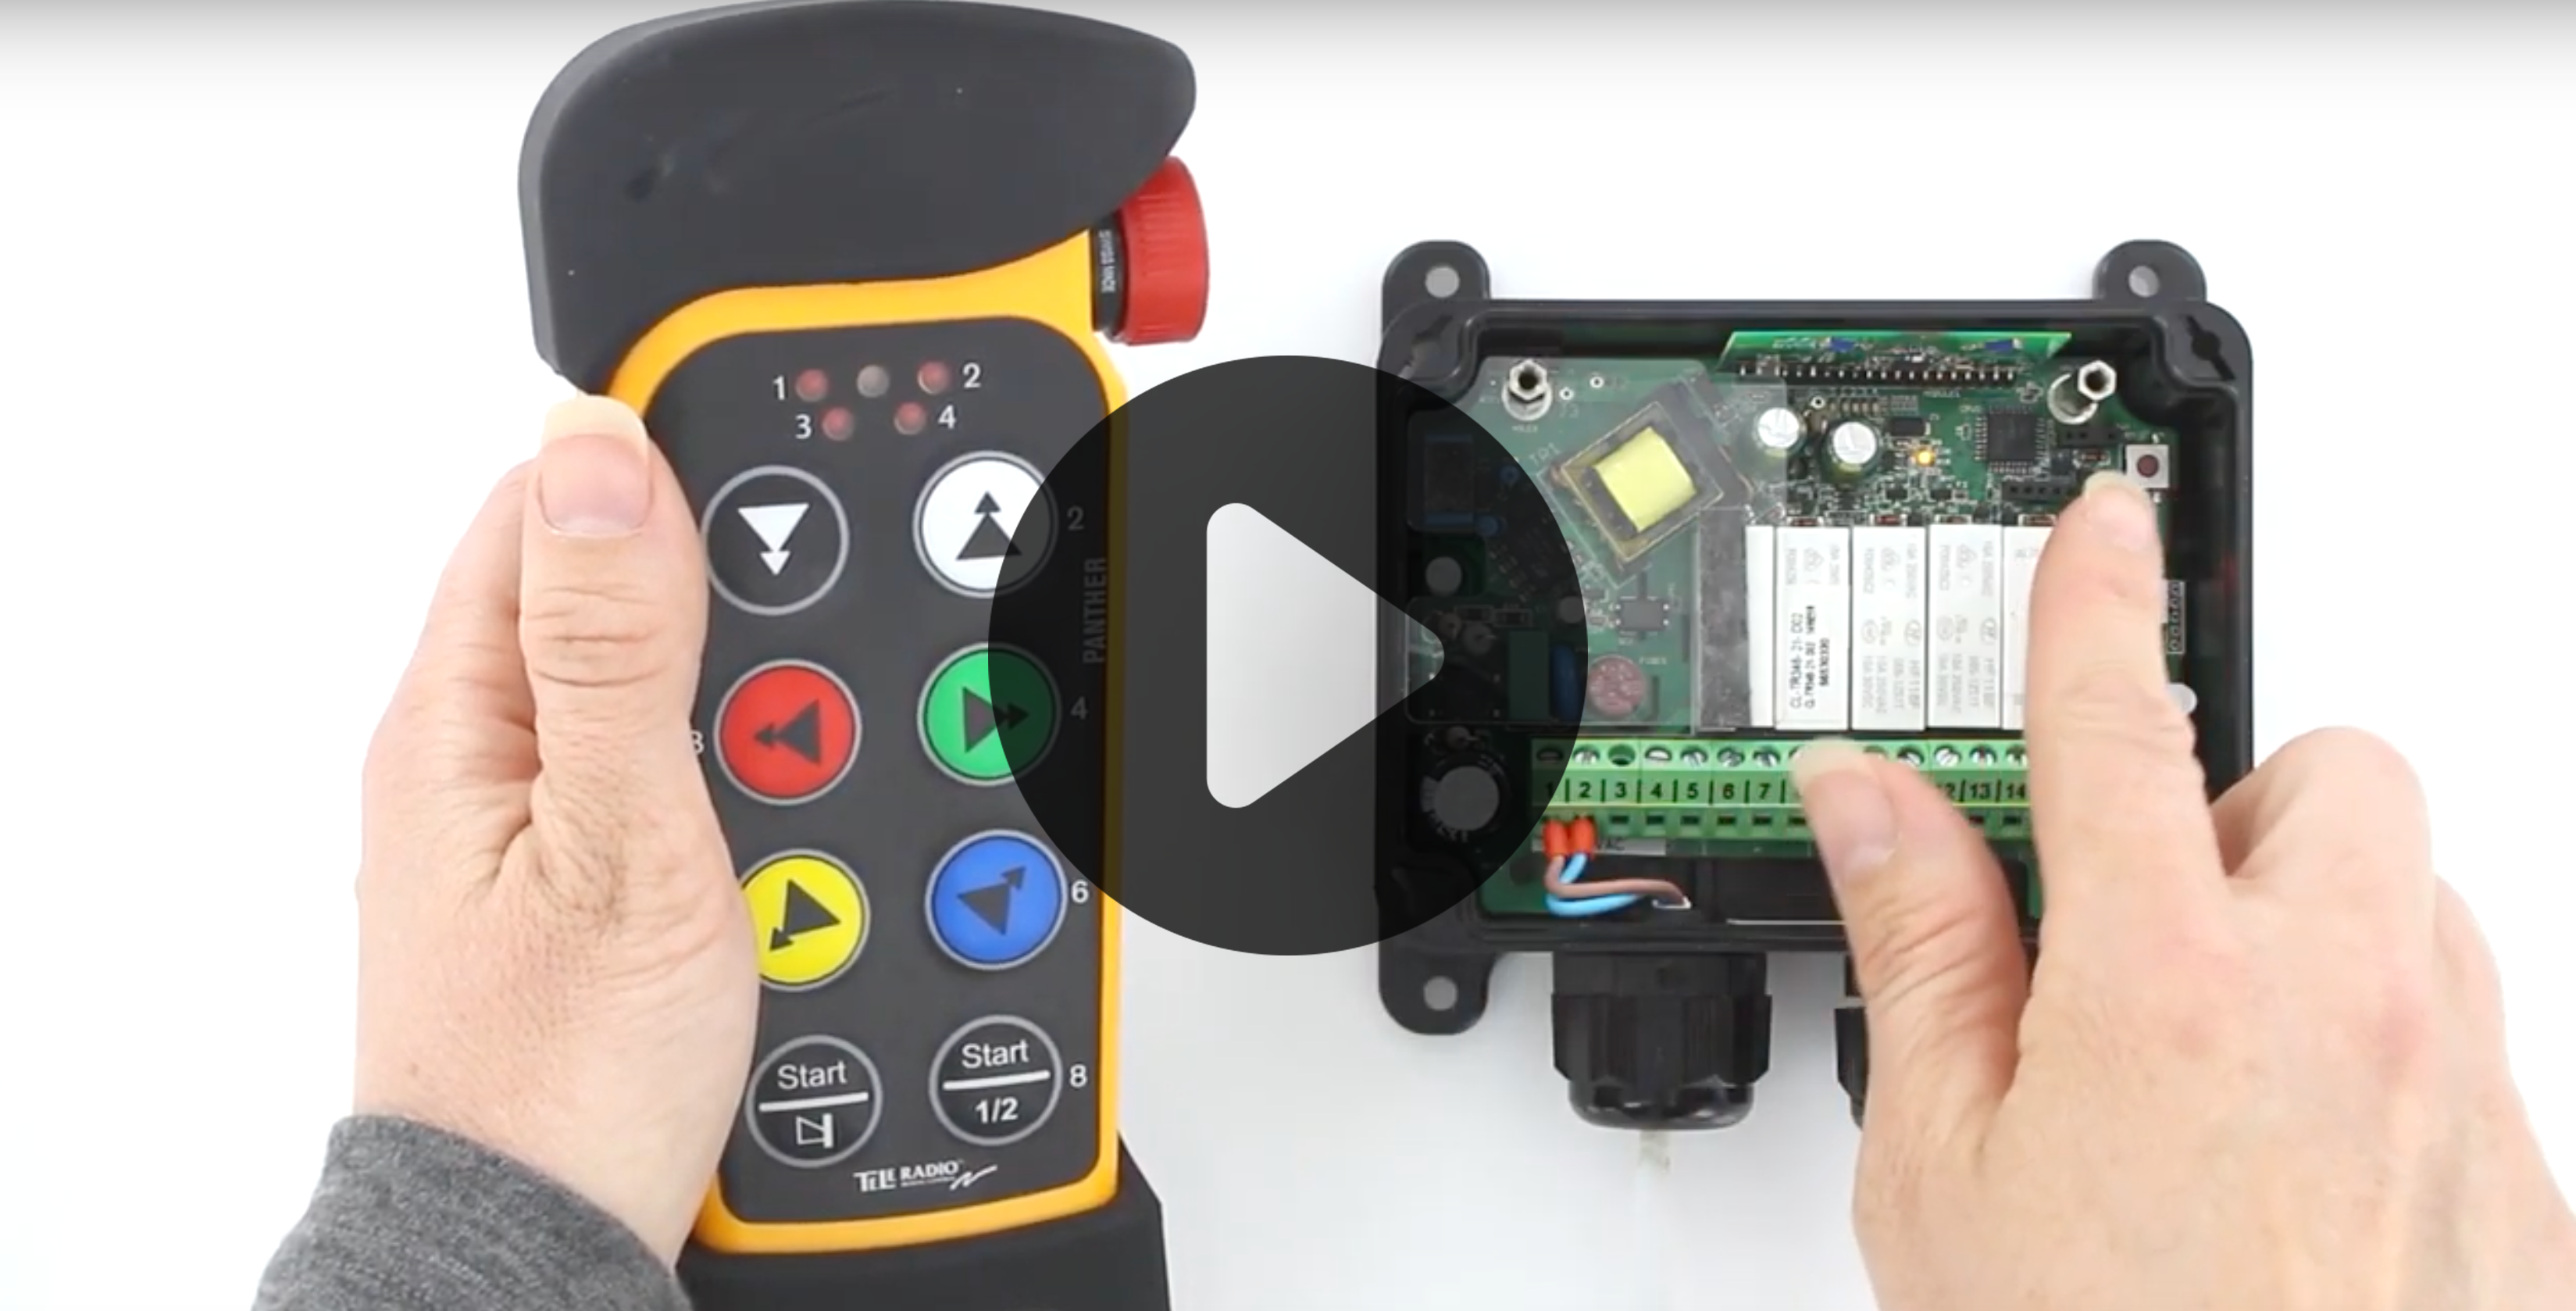
If the Replace ID code of the damaged/lost transmitter is not available or legible, you may co-register a new Transmitter, by pressing the (F)unction and (S)elect buttons using a simple sequence within the receiver. You may also delete the old transmitter out of the Receiver’s memory prior to registering a new one and thereafter proceed to register the new Transmitter. Click to play the video.







 Tele Radio supports the world wide preservation of the Tiger with WWF.